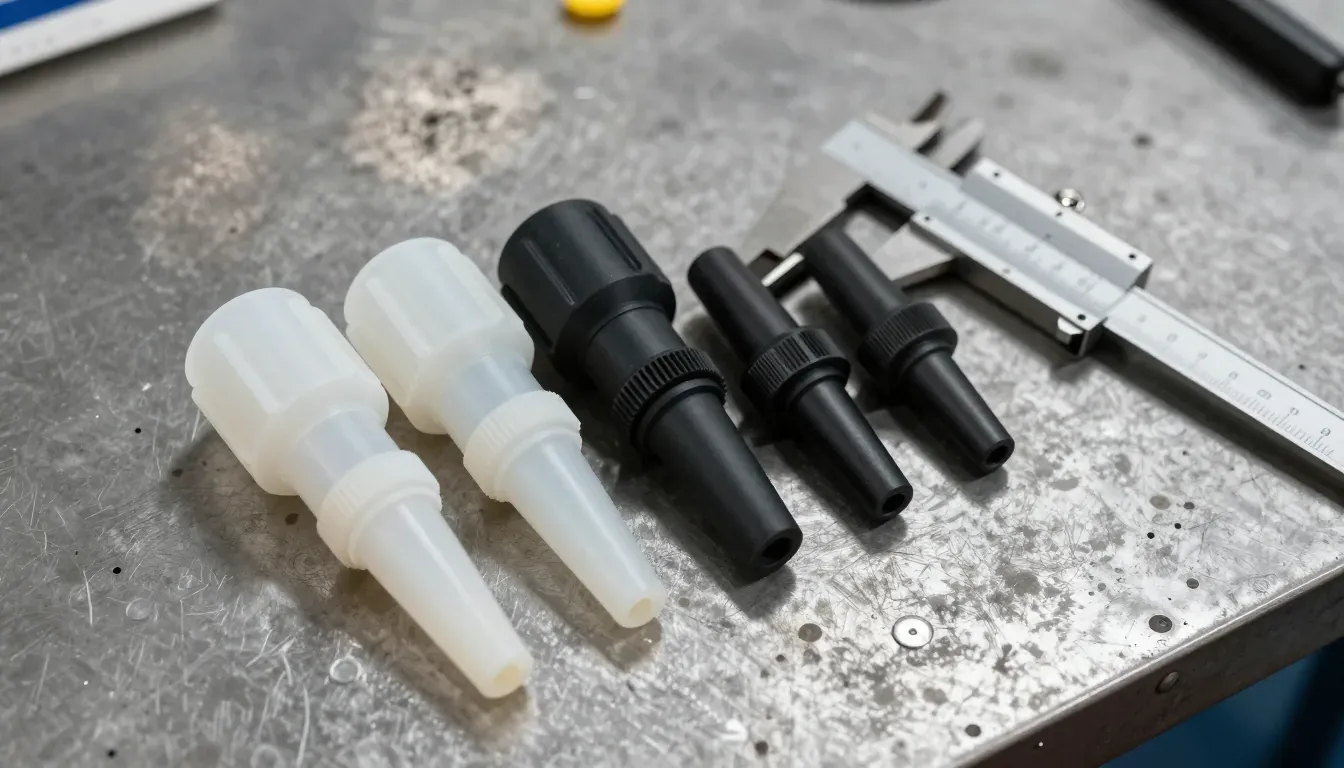
How to Choose the Right Silicone Plug Size: Thread, Diameter and Length Guide
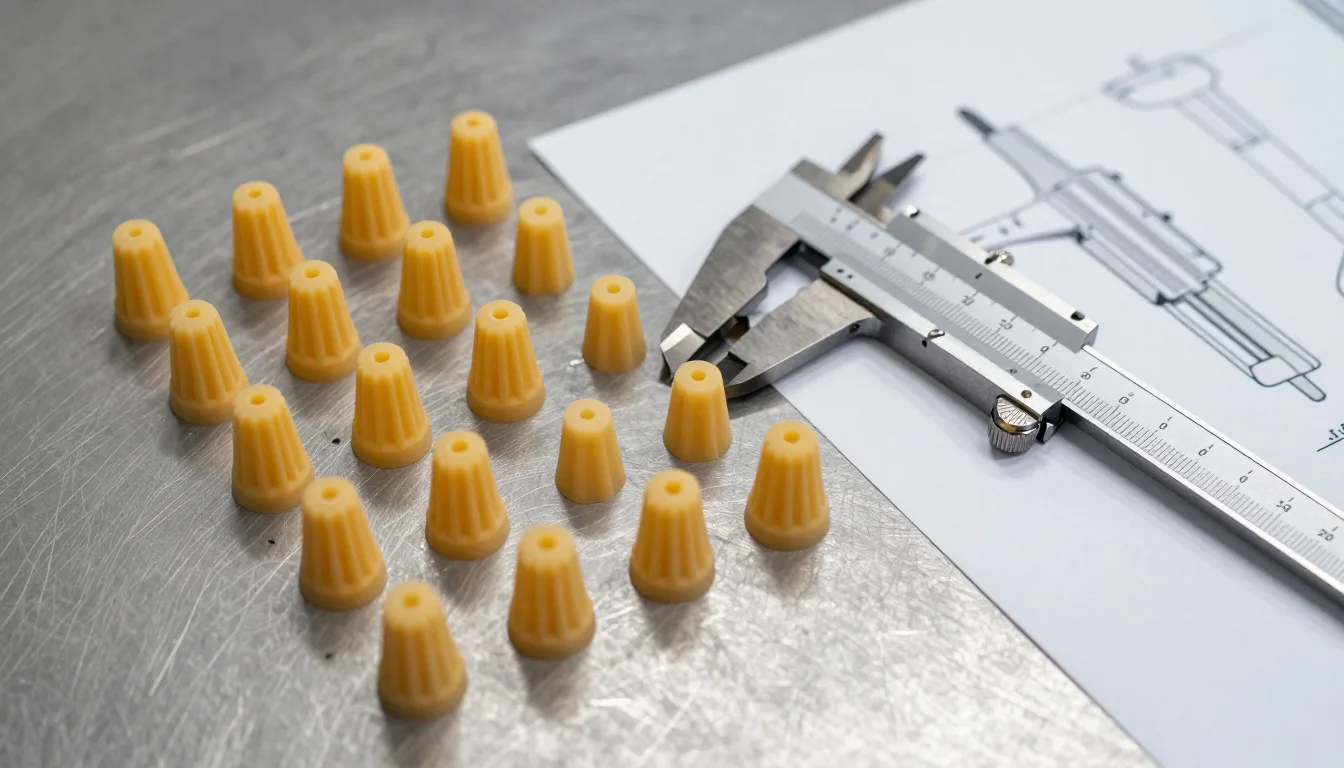
The right silicone plug size is not the number closest to the nominal hole diameter. Size comes from reading the major thread diameter, the pitch, the hole depth, the surface area that must stay clear and the oven conditions together. Misread one dimension and series production delivers either paint bleed or a plug loose enough to fall out in the oven.
This guide walks through sizing step by step. It covers which diameter to measure, the difference between threaded and plain holes, why body length matters and how to read a size table. At the end there is a short checklist you can fill in for your own part.
Which diameter do you measure?
A hole has more than one diameter. Whatever the caliper jaws touch is what you read, but it is not always the diameter that selects the plug.
- Major diameter: the distance across the outer tips of the thread. In a metric thread, M8 refers to this value.
- Minor diameter: the distance across the thread roots. If the caliper jaws slip between the threads, this is what you read.
- Tap drill diameter: the hole drilled before tapping. On a threaded plug it is not enough on its own.
- Chamfer and entry diameter: the widened zone at the hole mouth. It affects where a flanged plug seats.
Threaded plugs are selected against the major diameter. A plug chosen from the minor diameter sits high on the threads and never seats fully. This is the most common sizing error we see.
Reading a threaded hole
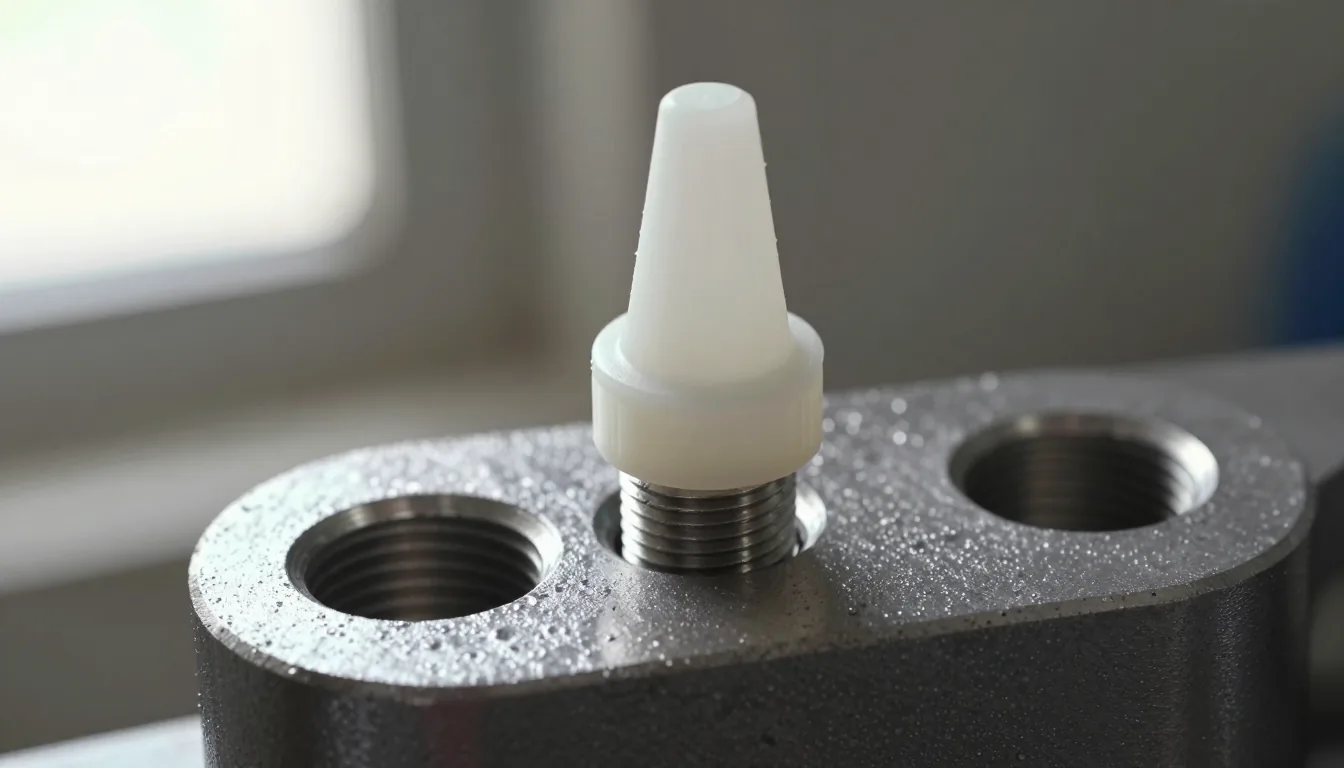
First confirm the thread is metric. A metric thread is written with diameter and pitch together, for example M8 x 1.25. The first number is the major diameter in millimetres. The second is the distance between two threads, the pitch.
Measure in this order:
- Identify the pitch with thread gauges. The gauge fits when the pitch is correct.
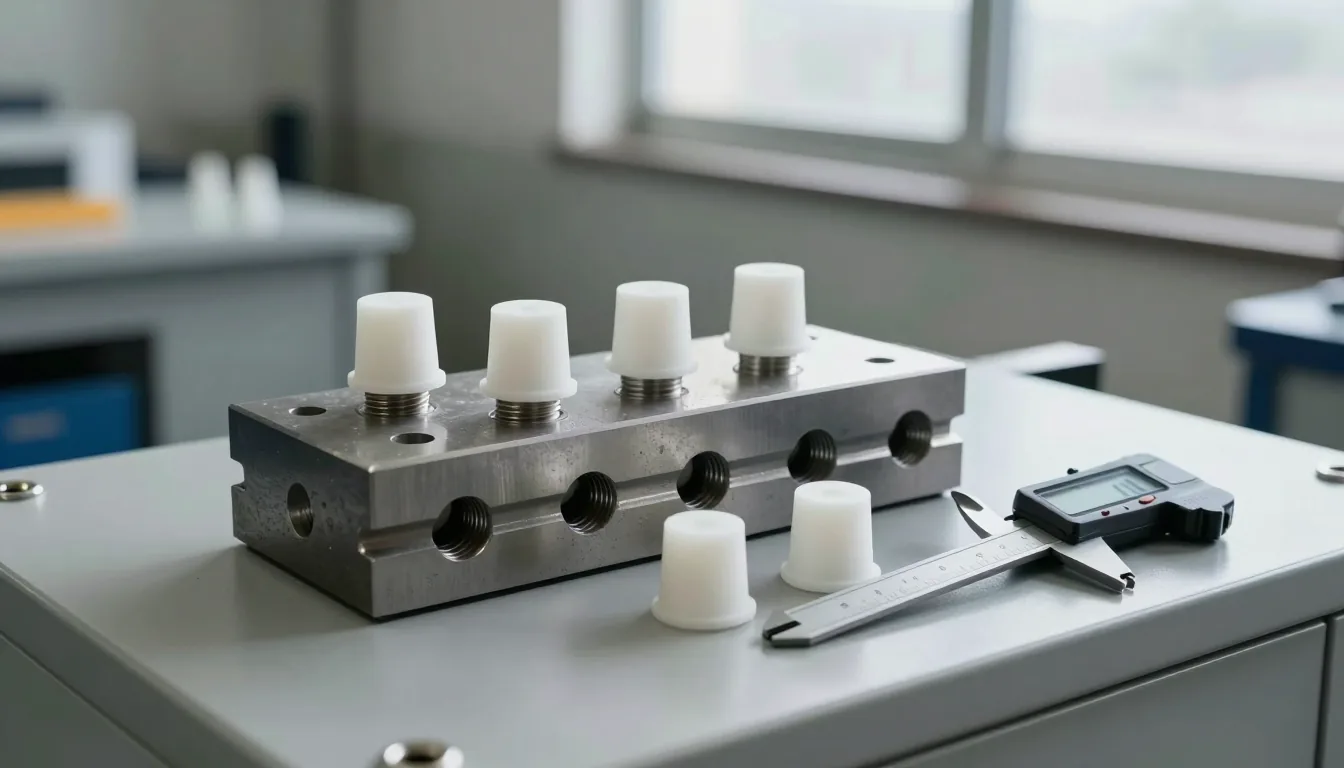
- Measure the major diameter with calipers. The jaws should touch the thread tips, not drop between them.
- Measure hole depth. Extend the depth rod until it touches the bottom.
- Decide how much surface around the hole must stay uncoated. That value sets the flange diameter.
Example: an M8 x 1.25 hole has a major diameter of 8.0 mm and a minor diameter of about 6.8 mm. The plug body is selected against 8.0 mm. If the caliper slips between the threads and reads 6.8 mm, the plug ends up about 1.2 mm undersize. The error shows up immediately at fitting: the plug drops into the hole with almost no resistance.
Plain holes
A plain hole has one diameter, but it is not always round. In sheet metal, ovality, cut burrs and thickness variation all affect the measurement.
Take readings in two perpendicular directions. If the difference exceeds 0.2 mm, treat the hole as oval. Sizing against the largest diameter gives a firm fit in the narrow direction. An excessively tight plug can tear during fitting, though. For oval holes, a tapered plug with a flexible body or a slightly larger flange is the safer choice.
Measure sheet thickness as well. In thin sheet the plug body protrudes at the back. The protruding part collects powder and can drip in the oven. In thick sheet a short body stays inside the hole and sealing weakens.
Why body length matters
To do its job, the plug must pass the hole mouth and enter the thread far enough. A short body only covers the entry. It can move under powder pressure or bath movement. A long body bottoms out in a blind hole, pushes the plug outward and lifts the flange off the surface.
A simple rule works for most cases: the body should fill at least two thirds of the hole depth and must not touch the bottom. On threaded plugs, apply the rule to the thread length. A 12 mm hole takes an 8 to 10 mm body. An 8 mm hole takes about 6 mm.
Leave clearance at the bottom of blind holes. If the plug sits hard against the bottom, air trapped behind it expands in the oven and pushes the plug out. A small air gap reduces that risk.
Flange diameter and surface allowance
The flange is the wide part that rests on the surface around the hole. It does two jobs: it keeps the plug square and it stops coating from reaching the surface. Flange diameter follows the area that must remain clear.
Suppose a mounting face needs a 2 mm ring around the bolt seat to stay uncoated. The flange must cover that ring completely. Too small and paint bleeds onto the ring, which disturbs the flatness of the joint. Too large and a wide uncoated patch remains on a visible surface, which hurts cosmetic quality.
Flange thickness matters for oven marks. A very thin flange sticks to the surface when hot and tears on removal. A very thick flange leaves a step at the coating edge.
Tolerance and fit class
Size tables usually list nominal values. Real holes vary within tolerance, so the plug choice needs a fit class:
| Fit | Difference between hole and plug | Result |
|---|---|---|
| Loose | Plug 0.3 mm or more smaller than the hole | Easy to fit, high risk of movement in the oven |
| Normal | 0.1 mm to 0.3 mm | Fits by hand, enough sealing for most lines |
| Tight | Less than 0.1 mm, or plug larger than the hole | Good sealing, harder fitting and risk of tearing |
On powder coating and e-coat lines, normal fit covers most applications. Choose tight fit for high pressure washing, dipping or long oven cycles. Tight is not automatically better: an oversized plug strains the thread during fitting and tears during removal.
How to read a size table
A catalogue row usually lists model code, thread or hole diameter, body length, flange diameter, material and temperature range. Read it in this order:
- Check the type letters in the model code. They tell you whether the plug is tapered, threaded, stepped or flanged.
- Compare the hole diameter column with your measurement. On threaded plugs this column is the major diameter.
- Compare body length with hole depth. Apply the two thirds rule.
- Compare flange diameter with the area that must stay clear.
- Confirm material and temperature against your line.
If your size is not listed, try the two nearest models. When the smaller one sits loose, do not jump to the larger flange. Choose the same model one body diameter up. Body diameter and flange diameter are separate dimensions; increasing one does not increase the other.
Once the size is set, compare body options on the SMT conical plugs, DFP threaded plugs and SPP stepped plugs pages.
Measuring tools and how to use them
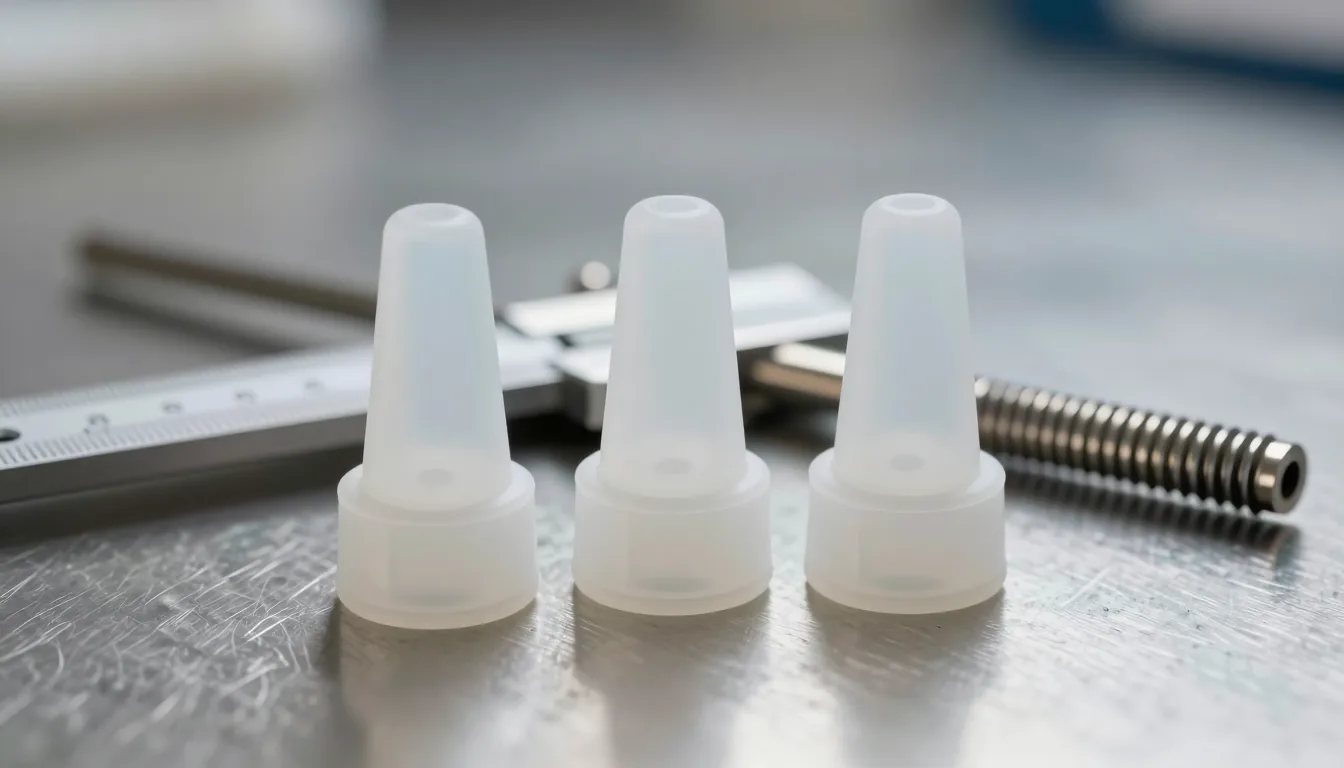
Accuracy depends on the condition of the tool. Three instruments cover the workshop: calipers, thread gauges and a depth gauge. Zero the caliper before each use. If the display does not read zero with the jaws closed, every measurement drifts. Worn caliper jaws read between the threads instead of on the tips, which produces a silent sizing error.
Thread gauges identify pitch. The gauge teeth must sit fully in the thread. If they do not, try one size smaller or larger. Metric and inch threads can look similar, so check the marking on the gauge before reading the value in millimetres. On a depth gauge, the rod must touch the hole bottom squarely. Tilting it reads deeper than the hole really is.
Measure at least twice, ideally by two different people. Taking one reading and applying it to a whole batch fails as soon as tolerance variation appears. Record the largest and smallest hole size across sample parts and base the plug choice on that range.
How temperature changes the fit
Metal parts expand in the oven and return to size when cool. The silicone plug expands too. The two materials have different expansion rates, so a plug that fits tightly at room temperature can become even tighter when hot. That leads to tearing on removal. A plug that is too loose becomes looser still and falls out.
Measure at room temperature, on the part as it comes from production. If the oven runs hot and the plug stays hot for a long time, a fit one step tighter may be justified. Do not apply that decision to series production without a trial part.
Validation on the line
Test the selected size on the real part before series production. Validation has three steps:
- Dry fit: push the plug into a clean hole by hand. You should feel resistance, but it should not require force.
- Oven trial: run the part through the real temperature profile. The plug must stay in place and return to shape after removal.
- Dimensional check: after the process, inspect the hole with calipers and thread gauges. There should be no paint residue and no thread deformation.
An order placed before these three steps invites surprises on the line. Keep the trial part, especially when a new mould or a new coating line is starting up.
Common sizing mistakes
- Reading the minor diameter: the plug is undersized and moves in the oven.
- Treating nominal as measured: a worn hole leaves the plug loose.
- Ignoring length: a short body fails to seal, a long body lifts the flange.
- Not comparing flange to surface: the coating edge runs onto the mounting face.
- Deciding from one part: tolerance variation appears only in series production.
Quick checklist
- Is the hole threaded or plain?
- Have you measured major diameter and pitch?
- Have you measured hole depth and sheet thickness?
- Have you defined the surface area and flange diameter?
- Is the oven temperature inside the product range?
- Have you run a dry fit and an oven trial?
Clear answers to these six questions complete most of the sizing work. If you do not have calipers, photograph the part next to a ruler and send it over; we will read the values with you. Browse the silicone plug caps category, the DFP threaded plugs for threaded holes, or the SMT conical plugs for tapered and stepped models.
Frequently asked questions
Can the plug be larger than the hole?
For a tight fit, the plug may equal or slightly exceed the hole diameter. Once the difference passes about 0.1 mm, fitting becomes difficult and the plug can tear. Confirm the allowance against the product data.
Will one plug fit both an M8 and an M10 hole?
A tapered plug can flex across a limited range, but one body diameter does not serve two metric thread sizes correctly. Threaded plugs are model specific. For tapered plugs, the product data states the diameter range the body covers.
Should the diameter be measured at the mouth or the bottom?
Measure diameter at the mouth and, where possible, at a second depth. Measure depth from the bottom. If the mouth is chamfered, read the diameter below the chamfer, at the true hole size.
Does the size change on plastic parts?
Mould shrinkage and temperature can change the hole diameter in plastic. Measure at the part's production temperature and after it has settled, not immediately after moulding.
Looking for Professional Silicone Masking Solutions?
As YÜZEYTEK, we provide professional silicone masking and industrial coating solutions worldwide. Contact us immediately for your needs.
Related Posts
Test Plug Extrusion Failure: Causes and Fixes
Silicone Plug vs PVC Cap: Chemical Resistance Comparison