Kapton Tape Residue: 4 Causes and Prevention
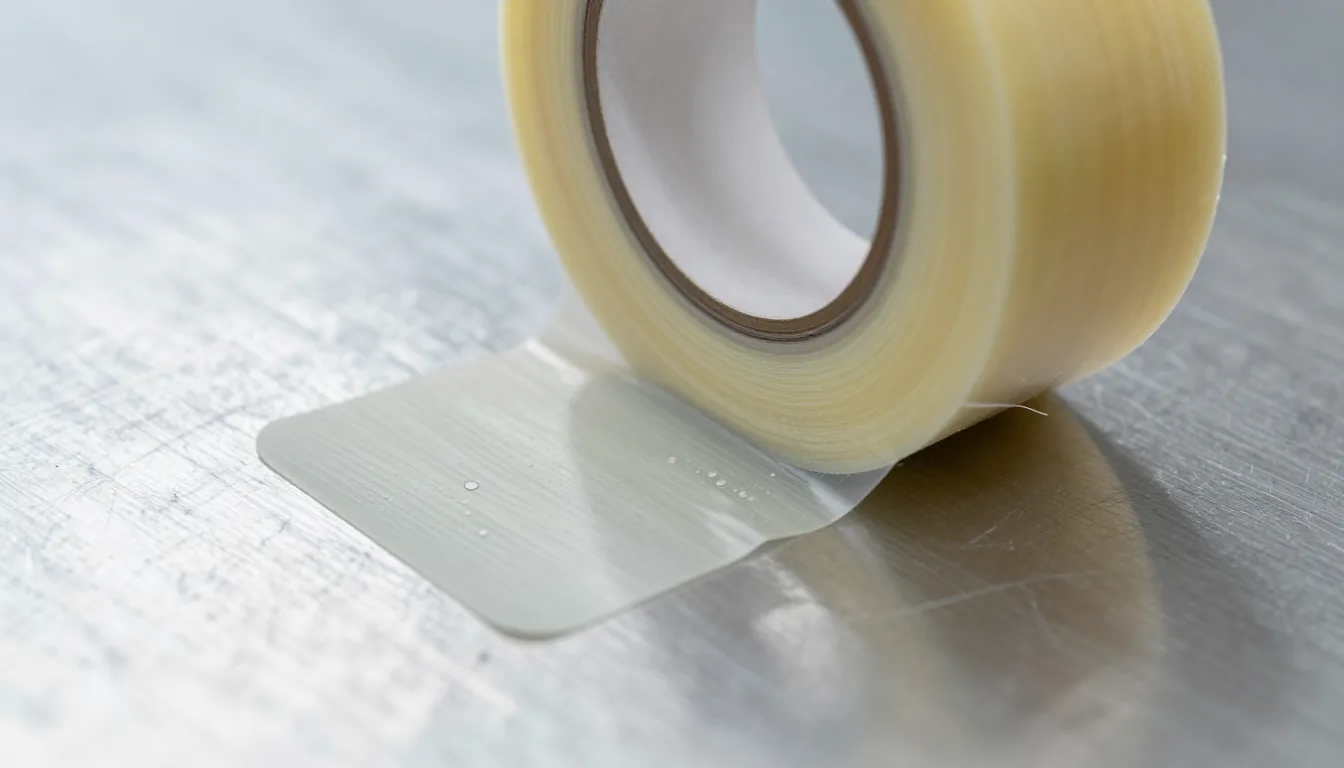
Kapton tape residue forms when the silicone or acrylic adhesive softens during thermal cycling and bonds microscopically to surface irregularities. Preventing this issue requires a holistic understanding of the curing phase, the geometry of tape removal, and the cleanliness of the substrate.
This troubleshooting guide analyzes the five primary mechanisms responsible for adhesive transfer and outlines industrial-grade protocols to eliminate these defects. By applying correct sizing, surface preparation, and removal techniques, operators can protect sensitive components and extend the operational lifespan of their manufacturing assets.
The Mechanism of Kapton Tape Adhesive Thermal Degradation at High Temperatures
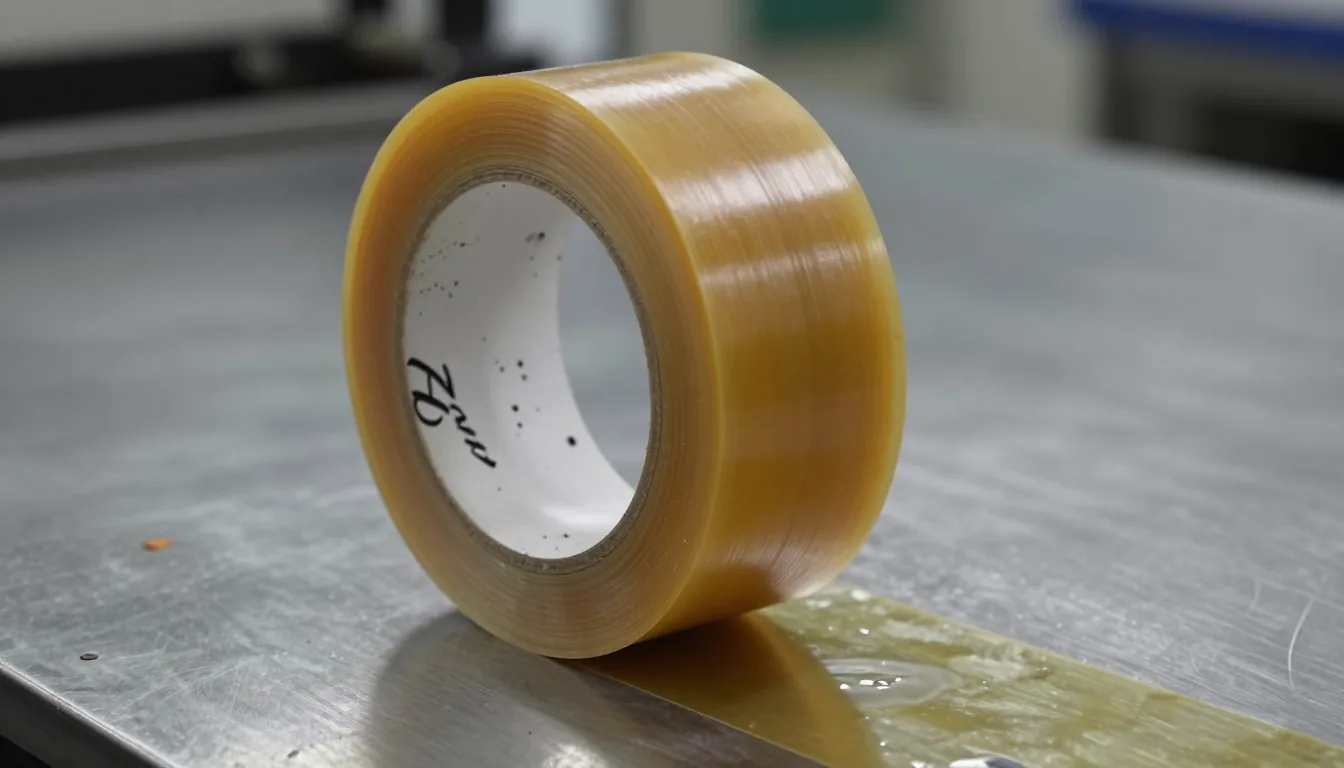
The thermal degradation mechanism of Kapton tape adhesives at elevated temperatures dictates the structural integrity of the polymer interface during industrial applications. When exposed to heat, the adhesive layer undergoes distinct changes that determine its ultimate behavior upon cooling. These physical transformations occur at the molecular level, leading to long-term structural alterations.
Glass Transition Temperature of Silicone and Acrylic Adhesives
Silicone adhesives are widely used in Kapton tape formulations due to their exceptional thermal stability, with an operational range from 0 to 260 degrees Celsius. As temperatures approach the upper boundary of this spectrum, the polymer chains in silicone-based adhesives begin to exhibit viscoelastic flow behavior. This phenomenon increases the risk of adhesive bleed-out and subsequent residue formation. Acrylic adhesives generally have lower thermal limits, making them more susceptible to premature degradation. When exposed to temperatures exceeding their designed operational windows, acrylics can experience severe softening. This softening creates a highly fluid interface that easily bridges surface micro-irregularities. Upon subsequent cooling, this bridged material hardens into permanent, stubborn residue. The specific formulation of the adhesive directly impacts the severity of this thermal degradation.
Thermal Softening of Polymer Chains
At the molecular level, thermal energy disrupts the intermolecular van der Waals forces that hold polymer chains in their resting state. This disruption allows for increased chain mobility, resulting in a softening of the adhesive matrix. If the tape is removed while the adhesive remains in this softened state, the polymer chains will fracture. This fracture leaves a portion of the adhesive embedded within the substrate. The extent of this chain mobility is entirely dependent on the specific chemical composition of the adhesive layer.
Curing Duration Insufficiency and Adhesive Structure
Insufficient curing time is a major contributing factor to adhesive residue formation, as the chemical cross-linking process remains incomplete. When Kapton tape is applied to a substrate, the adhesive layer requires a specific dwell time to achieve full structural development. This process ensures that the polymer matrix reaches its intended mechanical properties. Skipping or rushing this phase introduces severe risks during the subsequent removal process.
Risks of Residue in a Semi-Cured State
Removing tape while the adhesive is in a semi-cured state guarantees the transfer of polymeric material. The adhesive lacks the structural cohesion required to release cleanly from the substrate. This structural weakness leads to a chaotic failure mode. Instead of a clean release line at the tape adhesive interface, the failure occurs within the bulk of the adhesive itself. The resulting residue is notoriously difficult to remove due to its partial chemical bonding to the surface. This phenomenon is particularly prevalent in fast-paced assembly lines where standard curing dwell times are frequently overlooked.
Manufacturer Technical Specifications for Dwell Times
Adhering strictly to manufacturer-specified dwell times ensures proper adhesion development and a clean removal process. Different adhesive formulations require varying amounts of thermal energy or time to achieve optimal cross-linking density. Technical datasheets usually provide specific temperature and time combinations for these processes. Operators must utilize a timer or automated control system to enforce these parameters. Failing to observe these strict specifications introduces unacceptable variability into the manufacturing process. Consistent adherence to these manufacturer specifications prevents structural inconsistencies.
Mechanical Stress: The Margin of Error in Tape Removal Angle and Speed
The geometry and kinematics of the tape removal process significantly influence the distribution of stress along the adhesive interface. This stress distribution determines whether the adhesive will cleanly release from the substrate or fracture. Controlling these physical parameters is just as important as managing thermal factors. Failure to control removal mechanics frequently results in severe residue transfer.
Applying a high speed to the removal process introduces extreme dynamic loading rates onto the adhesive bond line. High strain rates increase the effective stiffness of the adhesive layer, forcing the bond to fail prematurely. This often leads to partial cohesive failure, leaving adhesive behind on the substrate. To mitigate this risk, operators must perform removal at a steady, moderate speed. Maintaining a consistent removal speed ensures that the adhesive layer has sufficient time to flow and release. Conversely, pulling at a sharp angle concentrates mechanical stress at the edge of the tape. The optimal removal angle is typically between 180 and 90 degrees relative to the surface. A 180 degree pull distributes the stress evenly across the entire width of the tape, promoting a clean and consistent failure mode. Utilizing mechanical peelers can help enforce these optimal angles consistently, reducing operator-induced variability.
Pre-Application Surface Condition: Roughness and Contamination
The topography and chemical composition of the substrate surface dictate how strongly the adhesive will bond and ultimately release. Substrate roughness increases the effective contact area between the adhesive and the surface. Contaminants act as chemical bridging agents, preventing a uniform release across the entire bonded area. Understanding these factors is critical for a clean manufacturing process.
Particles Adhering to Micro-Pores
Metal surfaces, especially those that have been machined or sandblasted, possess a microscopic topography that is invisible to the naked eye. These surface irregularities act as anchor points for the Kapton adhesive. As the adhesive is applied, it flows into these micro-pores. When the tape is subsequently removed, the adhesive resists flow out of these microscopic voids. This mechanical resistance results in severe cohesive failure and permanent residue. The depth and volume of these micro-pores are determined entirely by the surface finish of the part. Rougher finishes invariably result in higher residue formation rates.
Importance of Industrial Cleaning Protocols
An effective cleaning protocol removes particulate matter and surface contaminants prior to tape application. Standardized industrial cleaning procedures must utilize appropriate degreasing agents and cleanroom wipes to achieve this level of cleanliness. This preparation removes residual oils and fine metallic dust that would otherwise alter the adhesive chemistry. A completely clean substrate ensures a predictable and uniform bond line. Skipping the cleaning step introduces unknown variables that compromise the quality of the assembly.
Thermal Shock and Adhesive Stress During the Cooling Phase
The cooling phase following thermal processing introduces immense physical stress into the adhesive layer due to differing coefficients of thermal expansion between the tape and the substrate. Kapton film expands and contracts at a different rate than typical metal components during rapid temperature changes. This discrepancy creates high shear and tensile stresses at the adhesive interface.
If the assembly is cooled too rapidly, the Kapton tape contracts faster than the underlying metal surface. This rapid contraction induces a massive tensile load directly onto the adhesive layer. When this load exceeds the cohesive strength of the adhesive, the polymer layer fractures. The fracture leaves a continuous or discontinuous film of Kapton tape residue embedded on the substrate. The severity of this stress depends entirely on the thermal mass of the components and the rate of cooling. In a rapid quench scenario, the adhesive layer does not have sufficient time to relax the stresses. To prevent this type of residue, cooling must be managed carefully within the equipment.
Safe and Industrial Cleaning of Kapton Tape Residues
Cleaning Kapton tape residue from critical industrial components demands precision to avoid substrate damage. When the preventive measures fail and residue remains on the part, a systematic and rigorous removal protocol must be initiated.
Mechanical Scraping and Elastomer Cleaners
Adhesive transfer is a mechanical issue that frequently requires mechanical intervention. Specialized elastomer cleaning sponges, commonly known as rubber erasers or adhesive wheels, are effective at grabbing and rolling up soft residue without introducing aggressive chemical reactions. For thicker deposits, controlled manual scraping with specialized, non-marring polymer tools is necessary. The physical friction of the elastomer generates localized heat, further softening the Kapton adhesive for removal.
Criteria for Selecting Appropriate Solvents
Selecting the correct solvent for removing Kapton adhesive residue requires strict adherence to safety data sheets and chemical compatibility testing. The ideal solvent must dissolve the silicone polymer without attacking the base material of the component or nearby electronic components. Industrial solvent selection prioritizes specific chemical compatibility and controlled volatility. Always test the solvent on a small, inconspicuous test area prior to full application. This step guarantees that the cleaning fluid will not cause secondary damage to the part.
Alternative Masking Solutions: Choosing Low-Adhesive Tapes
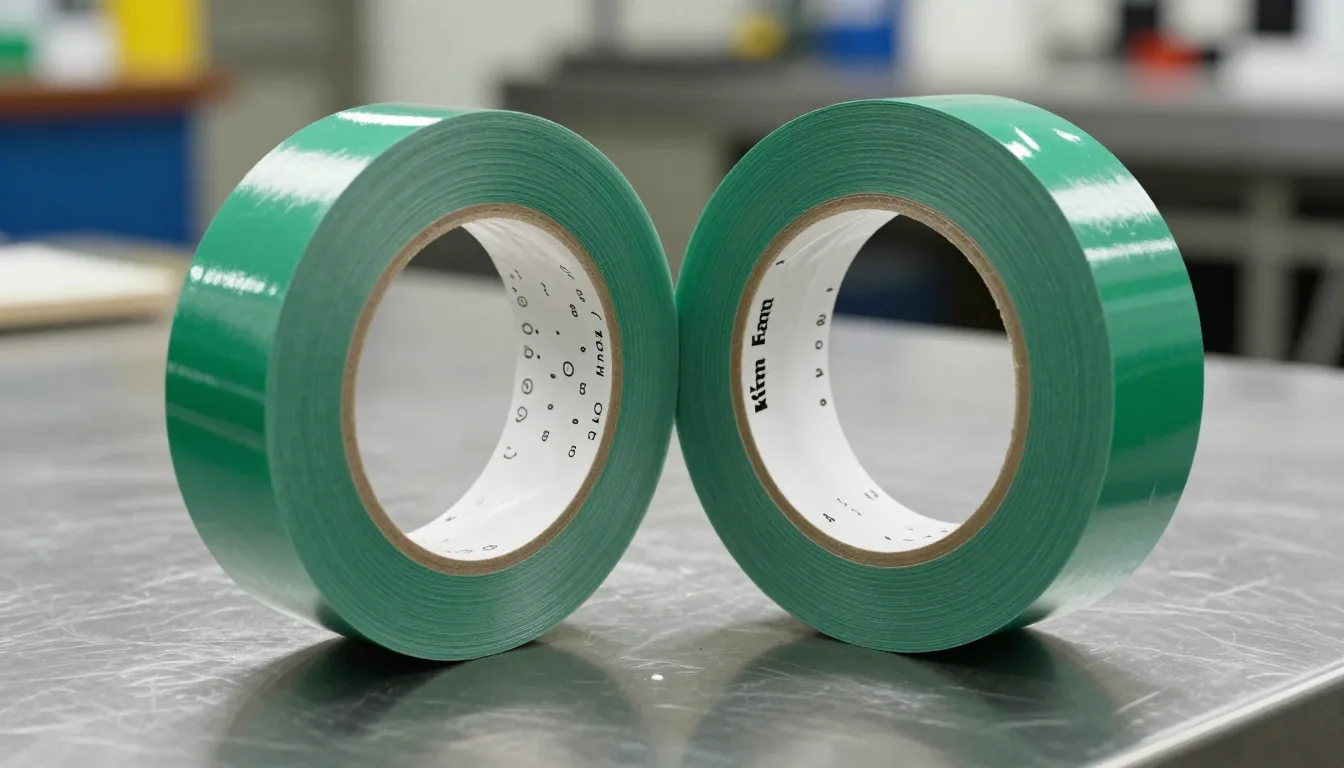
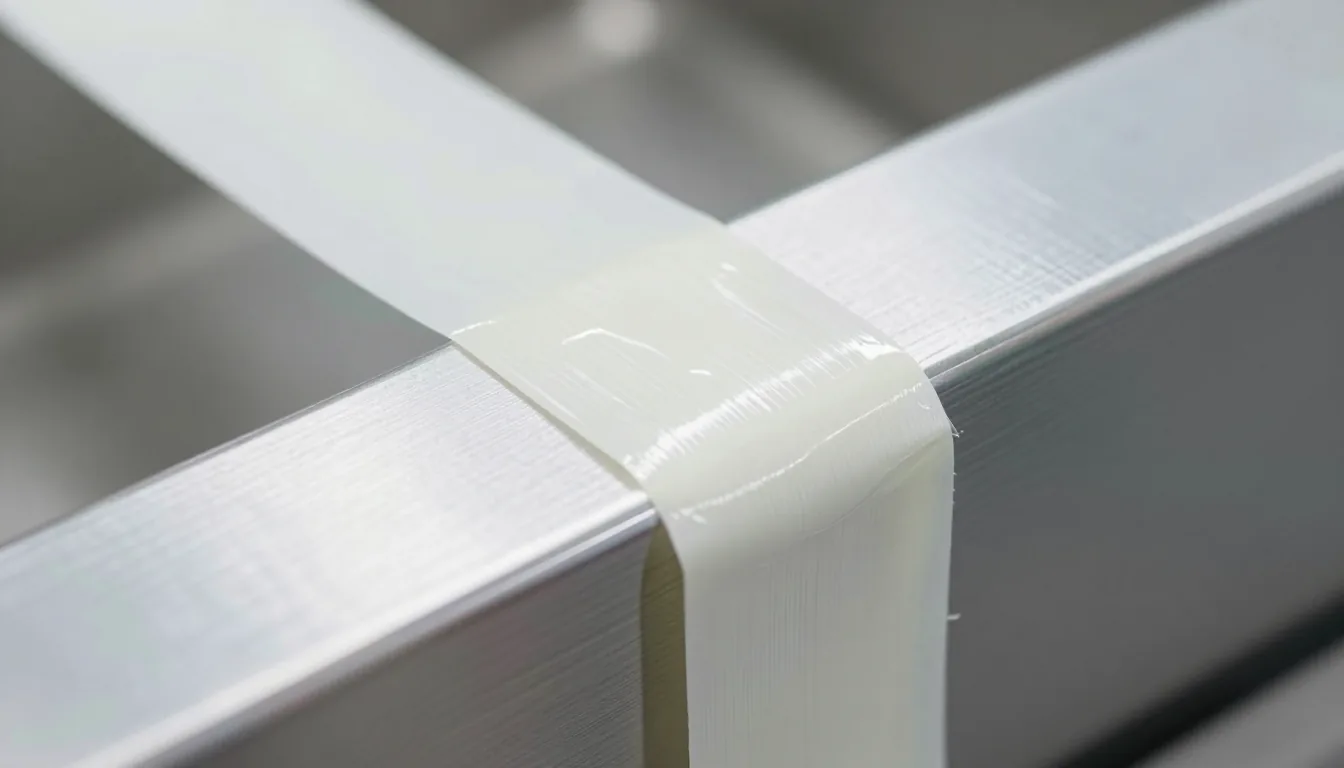
If high-temperature applications consistently result in unacceptable adhesive transfer, the problem may lie in the tape selection. Kapton tape is designed for extreme thermal environments, but it is not necessarily the optimal solution for every assembly process. In applications where temperatures remain below 135 degrees Celsius, low-tack masking tapes offer a superior alternative. Green polyester tape is engineered for high-temperature PCB masking and powder coating. It is formulated to release completely and cleanly, leaving zero residue. Similarly, disc masking tapes are highly effective for plating operations. Selecting a lower-tack alternative that comfortably exceeds your specific thermal requirements significantly minimizes the risk of contamination.
Correct Kapton Tape Width and Thickness Calculations
The physical dimensions of the tape directly influence the magnitude of stress at the adhesive interface during both application and removal. Selecting the correct tape geometry is a critical engineering calculation that is often neglected by operators.
Edge Area and Surface Tension Balance
Narrow Kapton tape has a smaller total adhesive surface area. When applied to a large, flat substrate, the adhesive tension concentrates at the outer edges. During removal, this high localized stress leads to edge tearing and adhesive bleed. Using a wider tape distributes the release stress more evenly across the entire bonded area. The total surface tension remains constant, but the stress per square millimeter is substantially lower.
Roll Width Impact on Temperature Distribution
The width of the Kapton tape roll also impacts thermal distribution during the curing phase. A wider tape provides a larger thermal bridge between the heated substrate and the ambient air. This larger thermal bridge can act as a localized heat sink, slowing the rate of cooling and preventing thermal shock at the edges. This slower cooling reduces the shear stresses placed on the adhesive layer, resulting in a cleaner release. To optimize these variables, consider reviewing your industrial Kapton tape options for appropriate roll widths.
Operational Control to Prevent Residue Formation in Industrial Processes
Preventing Kapton tape residue requires the implementation of rigorous operational control procedures on the manufacturing floor. Operators must adhere to standardized protocols for every step of the masking process. Implementing an automated dispensing system can guarantee that every piece of tape is applied with a consistent level of tension. This consistency eliminates the variability associated with manual application. Furthermore, utilizing automated removal tools ensures a constant speed and a perfect 180 degree peel angle.
Consider the following best practices for operational control:
- Enforce strict time limits for tape dwell times before and after heating cycles.
- Implement mandatory surface cleaning steps using approved, low-residue solvents.
- Train operators specifically on the required 180 degree peel angle to prevent edge stress.
- Maintain equipment to prevent contamination of the tape rolls during handling.
- Utilize mechanical peelers for critical applications to eliminate human error.
Proactive Supply Strategy and Product Quality Continuity
The quality and consistency of the masking tape directly impact manufacturing yields and the frequency of residue failures. Relying on an inconsistent supply chain introduces unacceptable variability into the production line. Different manufacturing lots of Kapton tape can exhibit minor chemical variations in their adhesive formulations. A robust supply strategy demands traceable, batch-controlled tape purchases to maintain high standards of quality.
Consider the following table when evaluating your material selection for critical processes:
| Tape Type | Primary Application | Release Characteristics |
|---|---|---|
| Kapton (Polyimide) | High-temperature soldering and powder coating | High thermal resistance, requires strict removal protocols |
| Green Polyester | PCB masking and thermal spray coating | Clean release, zero residue upon removal |
| Disc Masking | Electroplating and anodizing | High pressure resistance, precise masking |
Reviewing your entire material supply is highly recommended. If your current process requires heavy-duty masking components that interact with the tape, evaluate your green polyester tape options. For highly specialized plating needs, check out the specifications for your disc masking tape. Proper handling of your materials also depends on your facility's equipment. Ensure you have the right accessories, such as Swc flanged handles, and verify that your machinery maintenance includes single valve levers where appropriate. Standardizing your supply prevents costly defects and guarantees high-quality, residue-free finishes.
Looking for Professional Silicone Masking Solutions?
As YÜZEYTEK, we provide professional silicone masking and industrial coating solutions worldwide. Contact us immediately for your needs.
Related Posts
SMT Tapered Plugs: Sizing, E-coat, and Powder Coating Use
How to Choose the Right Silicone Plug Size: Thread, Diameter and Length Guide